Showing posts with label refinishing wood floors. Show all posts

Tuesday, August 25, 2015

1909 Restoration saga continues

Some of you may have read my posts on refinishing fir floors.

Floor refinishing project update October 2014

Ongoing renovation projects March 2014

Floor refinishing update October 2013

Wood floor project update September 2013

Why I am a teacher February 2013

Home repair and Restoration August 2011

Four years ago I started working on the floors in my house.  So far I have two rooms done.  All the carpet is out because it was disgusting, the back bedroom and the office have been painstakingly (and painfully) sanded using a 21" belt sander and pieces of sandpaper wrapped around a foam sanding block, as well as refinished using a Bona sealer and polyurethane finish.  They both look incredible as you well know from looking at the old posts and the pictures included therein.

The moral of the story is that I am super slow.  I have a boredom threshold of something under twenty minutes for hand sanding a floor.

While I was sanding the upstairs landing, however, I had to scrape up a bit of the tile that was covering the master bedroom floor.  It is a weird fiberboard sort of stuff


that was glued into place and then had been covered with paint and drywall mud over the years.


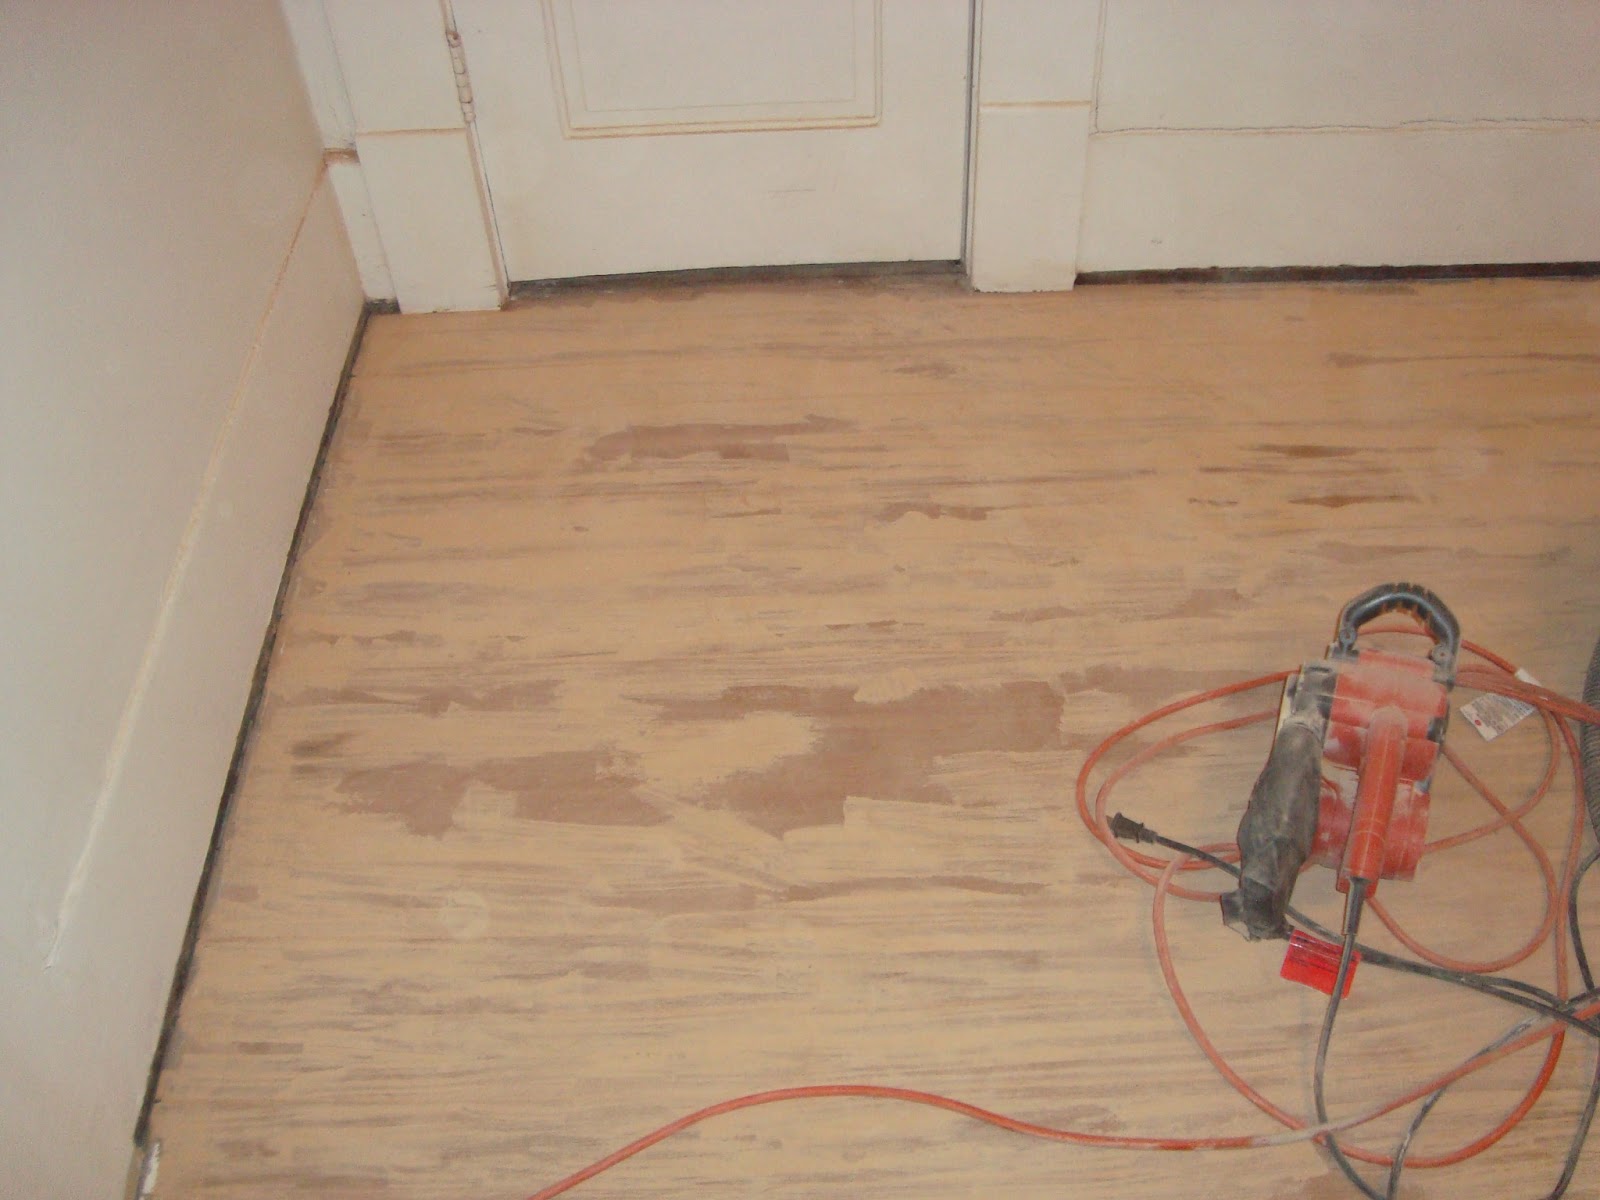
I tried cleaning it a bit but it didn't clean up much and then underneath all the gook was a weird sort of pattern.  Anyway, I hit the glue with the belt sander because I needed to clean up the edge of the hallway and it came off pretty easily (remember that this term is relative as I have hand sanded two floors over the past four years).

However, there was no way that I was going to do that by hand.


So you may remember my comment from 2011:

"sanding floors is actually not that easy and amateurs routinely ruin perfectly good floors"
 The author of that quote was specifically talking about using a drum sander on a fir floor.  At this point, and looking at what I was facing, I didn't care.  Worst case scenario I put carpet back into the room.  I rent a drum sander and my buddy comes over for the day.


I'm on the belt sander getting the edges.  40 grit sandpaper all round.  Finish with a round of 100 grit, then I smooth out the whole floor with 120 grit in a quick once over and the floor is ready for finish.


Wow.  This may be the nicest floor in the house.  Didn't require any putty except to fill a couple nail holes near the door.  Not sure how long the tile had been down but it left this interesting pattern where the tiles joined.


You can see each tile.

Educational aside from Wikipedia: Linoleum was invented in the 1860s.  It was made of linseed oil, and cork and wood powders, with a jute backing.  This may well have been linoleum.  They pretty much stopped using it in the 50s.  I was thinking of the plasticy stuff that they put down in big rolls in the 70s that we always called linoleum.  Guess it's like Kleenex in that regard.  Anyway, back to refinishing...

Got home from school today and spent about a half hour applying the sealant.


Tomorrow, possibly in the morning before I leave for school, the first coat of polyurethane finish will go down, the second coat after school, and the third and final Thursday morning.

Oh, funny story.  See that little rectangular thing on the window sill in the last picture?

Yeah, that's my cell phone.  Three hours later (drying time) I went over and retrieved it.  Thankfully this sealant isn't one that takes 24 hours or more to dry.

Sunday, October 19, 2014

Floor refinishing project update

If you've been following this blog regularly (hi, sis) then you have probably figured out that I am not the "stop everything else and get it done right now" type when it comes to home projects.  In February of 2013 I wrote a post about refinishing the floors in the upstairs of my 105 year old house.  I assume, although I don't remember exactly, that I had been working on that floor for at least four or five months at the time of posting.  It is now October of 2014, which means that I have been hard at work (figuratively) on this project for about two years. 

Last October I posted pictures of the finished back bedroom and since then have been working on the upstairs landing and the office.

In case you have been thinking about taking on a project like this, and in case you are not the "stop everything else and get it done right now type when it comes to home projects", I thought you might want an update, since it's been a year.  You may be wondering how close I am to finishing the landing and office (the master bedroom has some sort of weird glued in press-board tiles so will be getting hardwood flooring instead of refinishing).

I do, as previously reported, have half the office floor done, and I have also sanded and puttied the landing and most of the rest of the office floor. 

Today I took another major step.  I finished repairing the corner floor in the office.

Ta da!


Now all I have to do is finish the puttying, hand sand the 40% of the office that is not already refinished, hand sand the landing, and seal, varnish, sand, varnish, sand, varnish and it will be done.

Except for all the base trim which I decided to leave until all the floors are done.

And the master bedroom.

And the downstairs hall, the stairs, the living room, the front porch which needs all the flooring ripped out and replaced as well as jacking up and reinforcing the foundation by the front door, and the kitchen and upstairs bathrooms which need complete renovations, and the new garage that needs to be built so that I can tear down the eighty year old garage that floods every time it rains.

Good thing I have no plans.

Sunday, March 2, 2014

Ongoing renovation projects

Wow.  Last time I posted on my renovation projects I promised updates as I finished each step.  I had resolved to finish a good chunk of the office.  Just realized that I haven't posted a thing since then and that was in November.

Well I have a bit of an excuse.  I took Christmas off to go surfing and started working on another, non-house related project.  I did, however, get a few things done so here an  update.


Office.  

As I had planned, I sanded and refinished a good chunk of the floor.  I couldn't do the whole thing at once as I have my grandfather's roll top desk and it requires dis-assembly to move so I did what I could, moved the roll top over onto the finished section, and started working on the rest.

Ran into some snags with the corner repairs though.  When the corner wall was built, shortly after we moved in, the friends who helped used wood for the floorplate that was larger than the framing.  The floorplate, therefore, sticks out past the drywall and where I have to insert the new floorboards.  It wasn't a problem when there was carpet covering the floor, but in order to get this looking right I have to trim off the edge of the floorplate.  The problem is finding a saw that will cut into that edge.  I pulled the drywall off to give myself more room to work but this has been an ongoing frustration.


Moved into the hall while I try to figure out how to cut out that floorplate.  The corner (shown below) had been poorly patched.  The patchers were covering their work with carpet so it didn't really matter what it looked like.  I pulled out the pieces and installed new wood.  


One positive note is that I found wider flooring, although not thicker.  Those of you who followed the original back bedroom project know that the old flooring is wider than normal due to the age of the house.  This is not easy to find but Bellingham Millwork Supply carries tongue and groove pine in the old style widths.  Not as thick as the old stuff, but I laid down some tar-paper underneath to lift the pieces to the right height.

Next step is to start sanding the hallway and filling the gaps with wood filler in preparation for refinishing.  I have to hang a piece of plastic over the stairwell so that the sawdust doesn't go downstairs and cover everything in the house so that will be the next project, maybe after school tomorrow.

Friday, December 20, 2013

Let it snow!

Snow day.  No school.  Folks on the east coast are probably laughing at us, but we just don't have the resources to safely transport thousands of students around in even a few inches and it isn't worth buying them for the two or three days a year that there is an issue.

The negatives:

  1. We'll have to make it up in June when we are all really ready to go home whereas right now we had a two week break starting this afternoon so we didn't need this and 
  2. I take one day off of studies per year and that is the day before Christmas break, when I show the kids Christmas movies and ply them with cookies and hot spiced cider (Wassail).  Used to do math on this day and discovered it wasn't very effective so I substituted a lesson in holiday spirit and traditional Christmas classics (Rudoph, Jack Frost, Frosty are the order of the day)
Anyway, it's beautiful outside, I guess I will get some work done on my office floors.  I'll post an update later today but if you haven't seen the spare bedroom, check it out.

Sunday, October 20, 2013

Back bedroom refinishing project

Done! Done! Done!  Well, mostly.

Today I put in the new bed plus a dresser that I've had in the upstairs hall, hung two watercolors that I got from my parents, put up the curtains, and moved the Persian rug I picked up in the Middle East (there are some small benefits to going to war).  I am super happy with the results.


Need a couple more pieces of art to hang, one above the bed and one on the remaining wall.  Or maybe several small pieces.  Need either a new light fixture or a new shade for the ceiling light as the current one is 70s hideous.  I do still have to finish painting a bit of the trim and do the ceiling, but those are both easy, evening projects.


As an added bonus I decided to dunk the knob and trim from the closet door in some paint stripper, just to see what would happen.  Followed by a bit of brass polish...

...happening.


Sunday, October 6, 2013

Floor refinishing update

200 grit sandpaper, very lightly across the sealer, about fifteen minutes. Lightened it up just slightly.

Bona Mega Wood Floor Finish Satin. First coat.
Wow!  Again. Each step it just gets nicer.


Two more coats, maybe three and I'll be moving in furniture.  I'm pumped and it's giving me motivation for the office bedroom refinish.

Sunday, September 15, 2013

Wood floor project update

Wow.  Words fail me.  I have spent the past five month or so sanding* the 1909 vintage fir floors in the back bedroom.  Fifteen minutes at a time because I don't have the patience for that kind of task.  It didn't matter how long it took because I didn't need the space.  I have a big house** and I'm the only one in it right now***.  Cliff Notes version of the project I belt sanded, then hand sanded, then wood puttied to fill the cracks, then belt sanded, then palm sanded, then hand sanded, (all at 80 grit) then hand sanded one more time (quickly) at 100 grit to smooth out the surface for the sealer.  Here's what it looked like this morning after countless hours of sanding.


Today I applied the sealer to the sanded wood.  Wow.


The project isn't quite done as I still have to apply three coats of Polyurethane to protect it, with sanding in between each coat, but I think that can be done with a rotary disc sander (which I need to track down) so that should be pretty quick; then pick up trim for the edges and paint and install that.

Worth every minute spent in my opinion.

Next up, the center bedroom/office.

* I did paint the walls and the trim as well, so that should count in my favor on my pathetically slow project completion record.

**I will admit that I'm getting tired of having a lot of stuff and boxes stacked around the edges of my bedroom.

*** on a related but unrelated note, this guy is my cousin.  http://www.helpgordyfindlove.com/.  Maybe I'll post on this independently later.

Wednesday, February 13, 2013

Why I am a teacher.

I decided to redo the floors in my back bedroom when my last roommate moved out.  Old growth fir so the potential to look beautiful.

Step 1: Tear out the old carpet.  Apparently the guy installing the old carpet had a deep seated fear of sliding as he felt the need to hold down the carpet with approximately three bushels of staples.  Pull out the old carpet, pull out the old underlay, pull up the old carpet strips, pull out three bushels of staples using barb wire fencing pliers. 


Yup, they work great.  Unless the staple is smashed into the wood, then you have to gently slide a knife blade under the smashed staple and pry up until it either comes out or is high enough to grab with the pliers.

Now I have to sand the whole thing smooth.  Turns out I didn't actually get all the staples, it just seemed like it.  Staples tore up the sanding belts on the sander.  Recheck the whole floor now that I know what they look like.  (Hint: they look like places where you took out smashed flat staples).

By the time that's over I've about had it with refinishing floors and, as Churchill might have said, it was not the end, it was not the beginning of the end, but it was, perhaps, the end of the beginning.

My buddy comes over and announces that it isn't ready, it has to be hand sanded to get something done.  Not sure what, but that's what he says.  Hand sanding.  He sands about twice as much as I do in the same amount of time and he's sixty three years old.

Now it's ready to putty.


Let that dry for a while and sand.  Again.


At least this time there are no staples.  I already ran over all of those.  I am so tired of sanding but at least I can use the belt sander.

Oh, no.  I can't.  The belt sander doesn't strip it down enough.  See all the light bits?  Yeah, that's putty.  It has to go away or the finished floor will look like putty.

Hand sanding.  Once again.


Now that is a nice looking floor.  As soon as I finish sanding by hand (oh, did I mention that I have sanded about one fifth of it and am bored out of my mind and my thumb hurts?), I get to stain it, resand it, varnish it, resand it, varnish it, resand it, varnish it (not sure if there's a resand after that last one).

Who would EVER want to do this as a job?  I, on the other hand, get to stand in front of a bunch of cheerful, motivated students, all ready to enthusiastically learn math.  My life rocks!

Except that I still have to finish the floor.  Or sell the house.